I taught music in the New Jersey public schools for 15 years, and one thing I can tell you is that music teachers are pretty good at making do with whatever is in the room. My very first classroom was the boys bathroom in the gymnasium at one school and the stage (with the curtains closed) in the multipurpose room in another. Fun. It taught me two things: you can teach music anywhere but it is challenging without the proper teaching resources. I didn’t even have a blackboard back then, let alone a computer. It wasn’t until I moved districts that I had access to technology that I could use to teach with - but even then (this was in the early 1990’s) I was restricted to the few things the software could do back then. Think Music Ace, Band in the Box, MacGamut, and PrintMusic. The idea of creating my own software to teach various musical skills was a bridge too far - even with some basic coding skills. But that has all changed over the past few years.
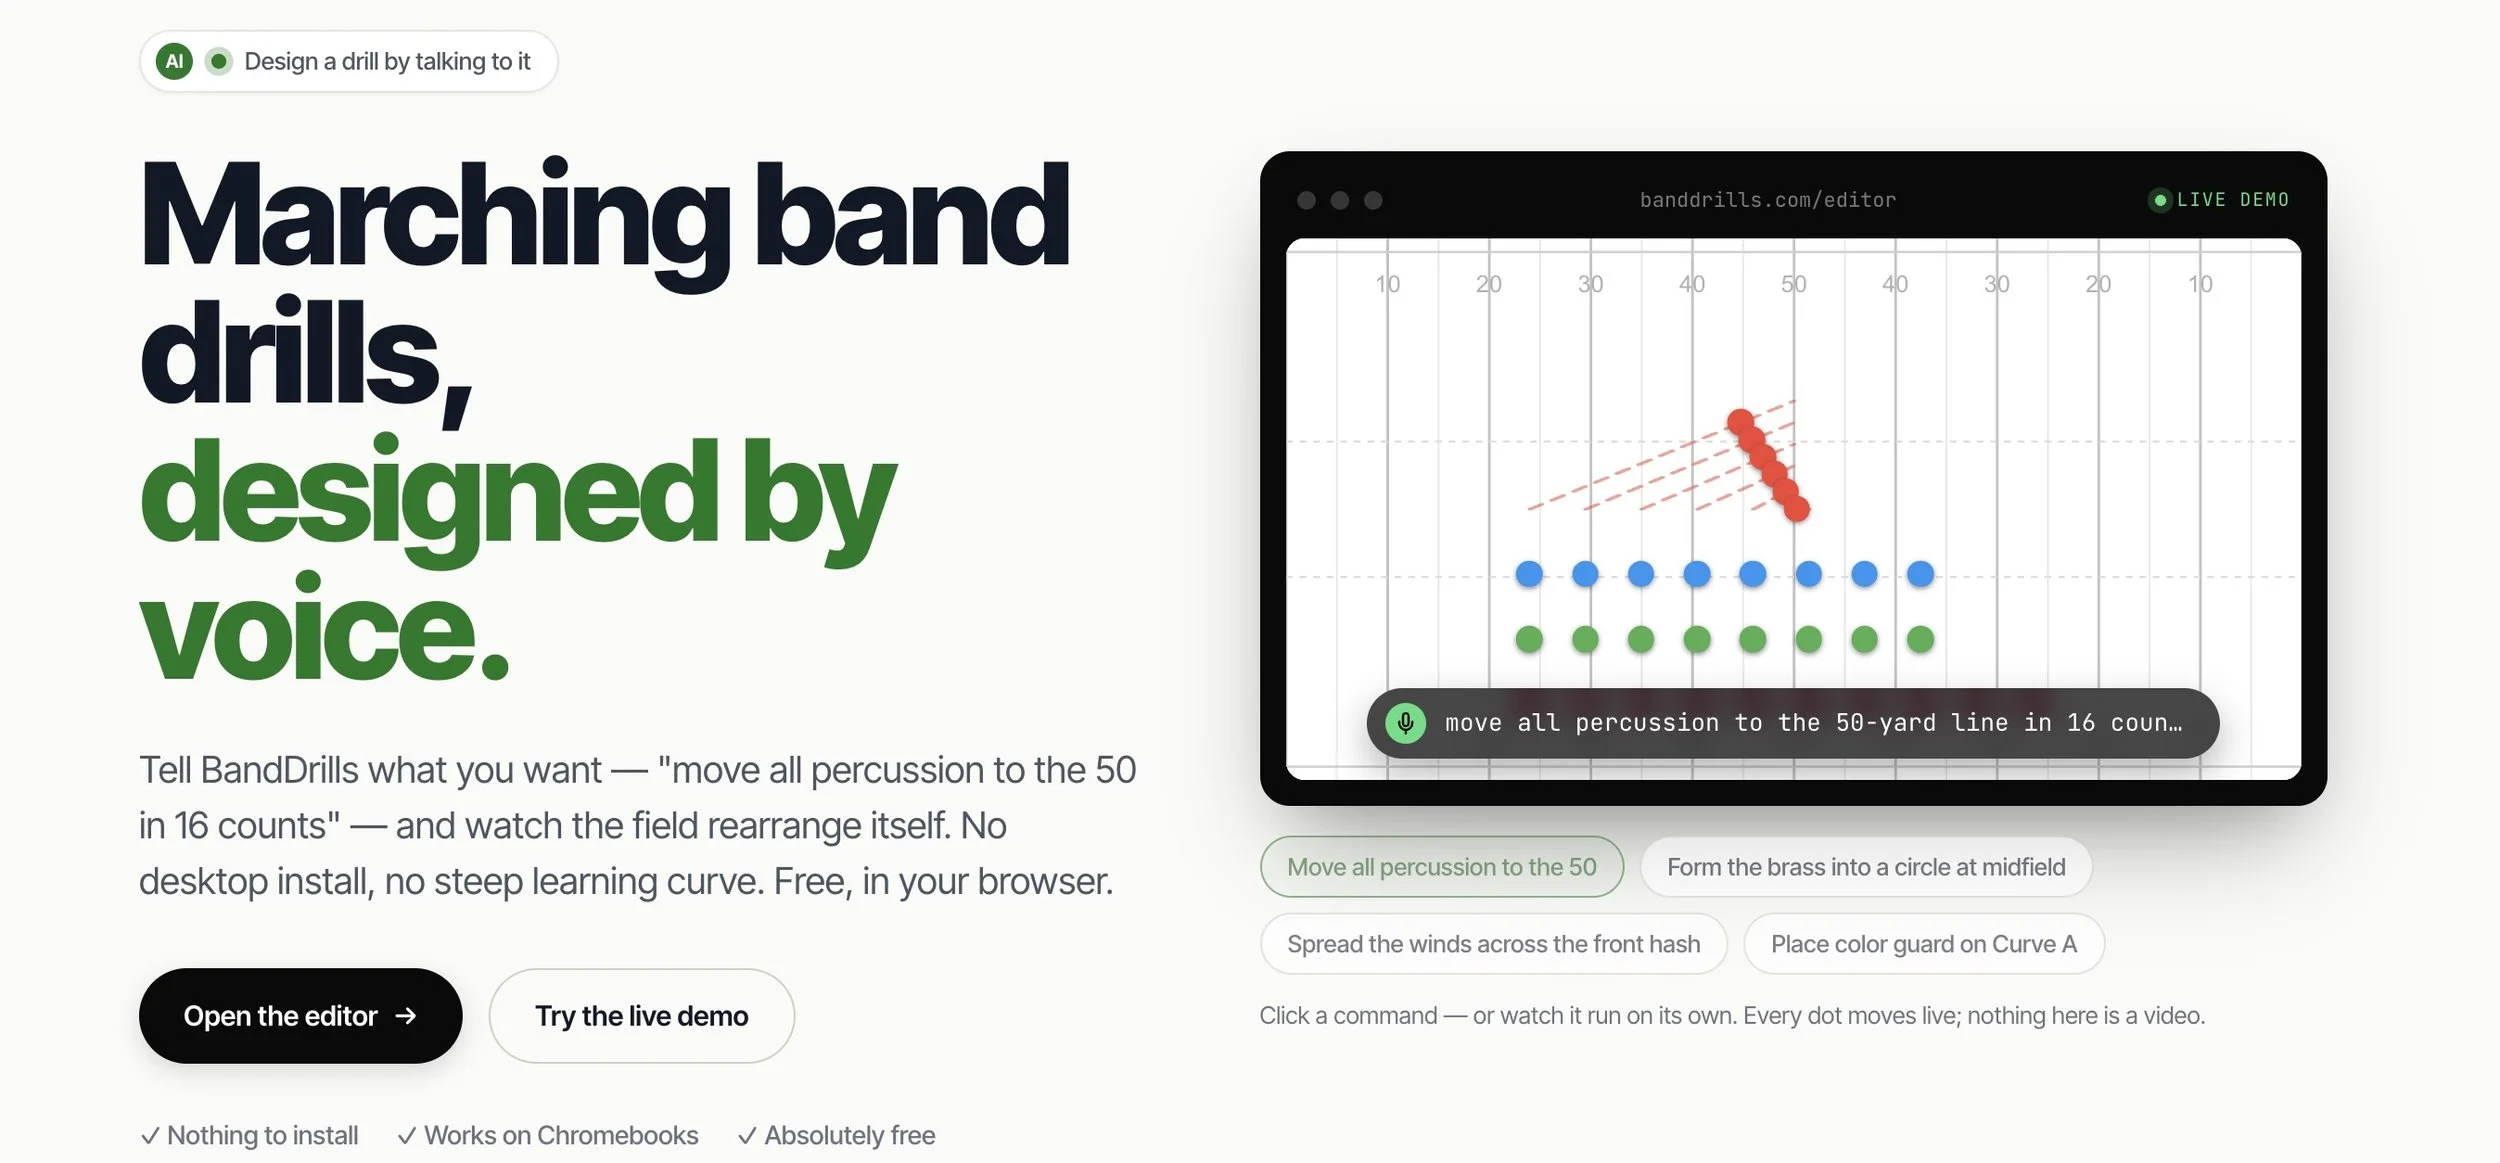
You have probably heard of the term vibe coding by now. If you’re wondering what on earth “vibe coding” means, the basic idea is that you tell an AI what you want a piece of software to do, it writes the code, and you try what it gives you and tell it what needs fixing. Andrej Karpathy came up with the term in 2025, and the name makes the whole thing sound a little more mysterious than it is. For a music teacher, the part that takes some thought is explaining exactly what you’d like your students to hear or do. This past summer I met a young man who vibe coded an amazing program for marching band drill design. It’s called BandDrills.com and it is pretty impressive. What I think is the most ironic part of what he has created is that teachers interact with the software by prompting or vibe coding want they want their show to look like. A completely free drill design program created for his own high school marching band program. Welcome to 2026!
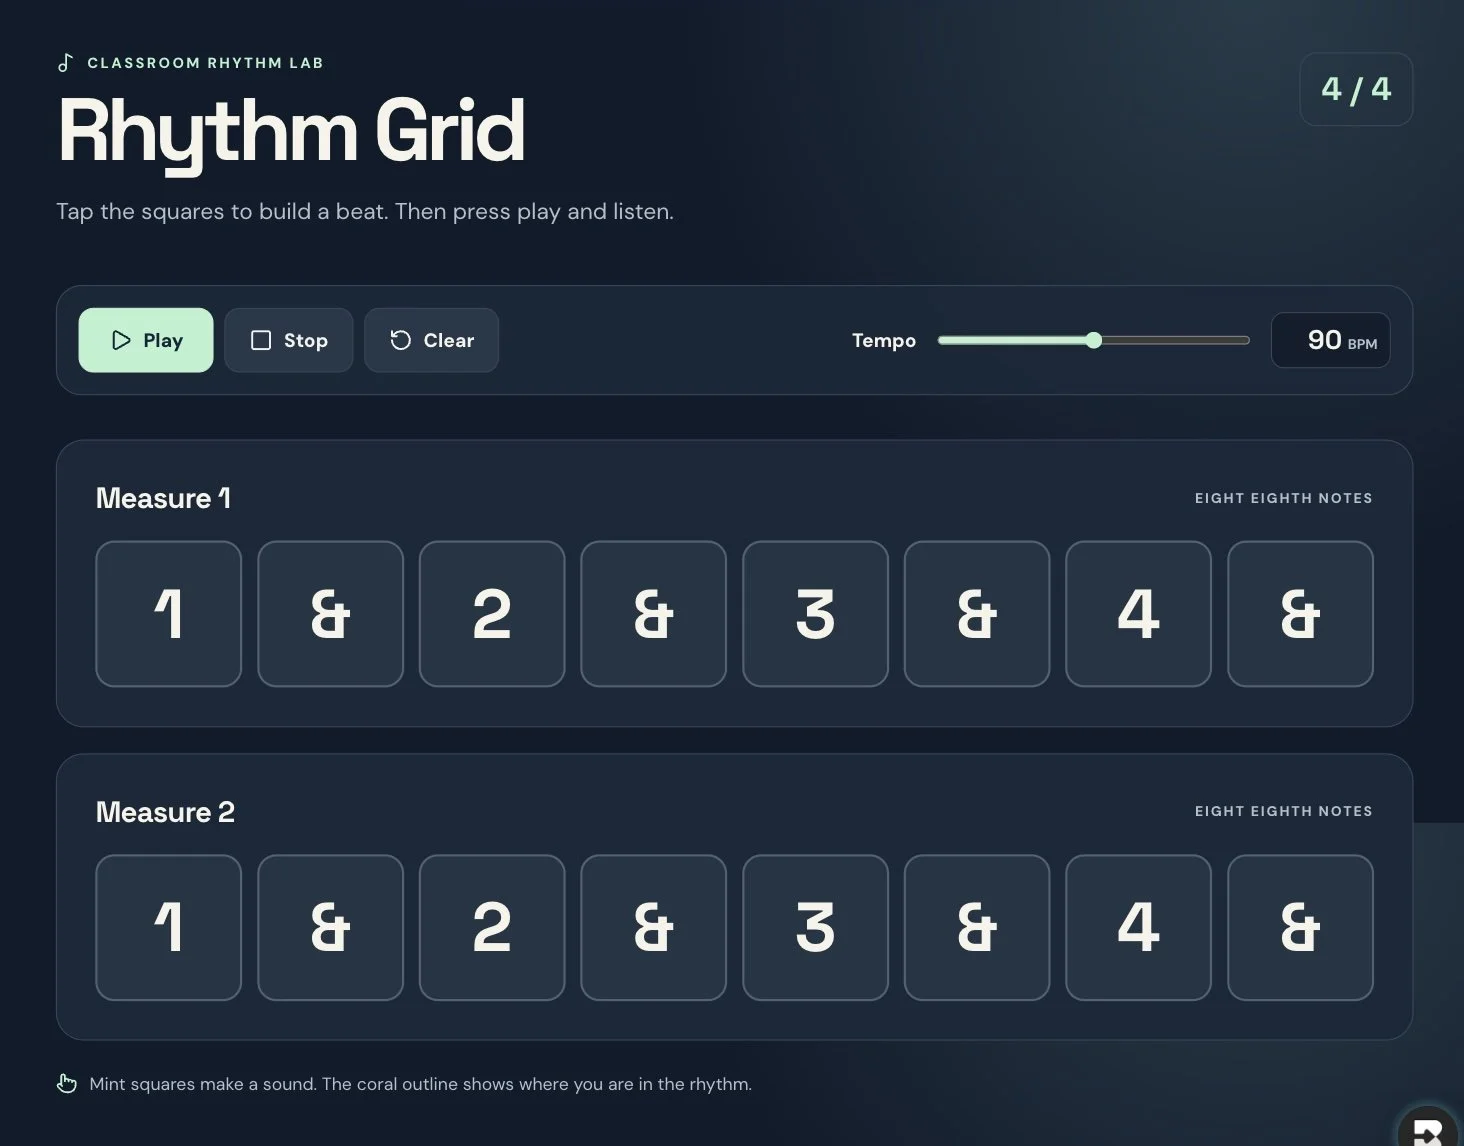
What interests me about vibe coding is that teachers can now create their own custom software and games that focus on what their students need. Teachers simply describe an activity or game to an AI tool and ask it to make something they can put on their screen, click on and play back with the class. If I were still in the classroom, I’d probably start small - perhaps creating a two-measure rhythm grid - something that would help students read and perform rhythms. To help students master a tricky rhythmic pattern, you can put the pattern they’re playing up on the screen, have them clap it, and then play it back slowly enough for everyone to hear where that note belongs. To vibe code this activity, here’s what I’d type into whichever tool you want to try.
Make a rhythm grid I can project for my middle school music class. Give me two measures of 4/4, with eight clickable squares in each measure labeled “1 & 2 & 3 & 4 &.” When I press Play, move through the squares at the tempo I set, highlight each one in turn and play a short percussion sound only on the squares I’ve selected. Add Stop and Clear buttons and let me change the tempo from 60 to 120 beats per minute. Make the numbers big enough to see from the back of the room, and make it work in a browser without student accounts.
When it gives you something to try, click the four numbered beats in each measure and listen. At 60 beats per minute, you should hear one hit per second. Then turn on the “and” of two and see if it lands halfway between beats two and three. If it sounds wrong, tell the AI what you clicked, what you heard and what you expected to hear. I’d fix that before asking it for different drum sounds, which is exactly the sort of thing I’d be tempted to do first. When I vibe coded this prompt myself using Canva, this is what it came up with. Click on the image to have a go!
Pretty cool, huh? If you would like to try vibe coding yourself, here are a few easy-to-use tools that will get you started.
Claude Artifacts
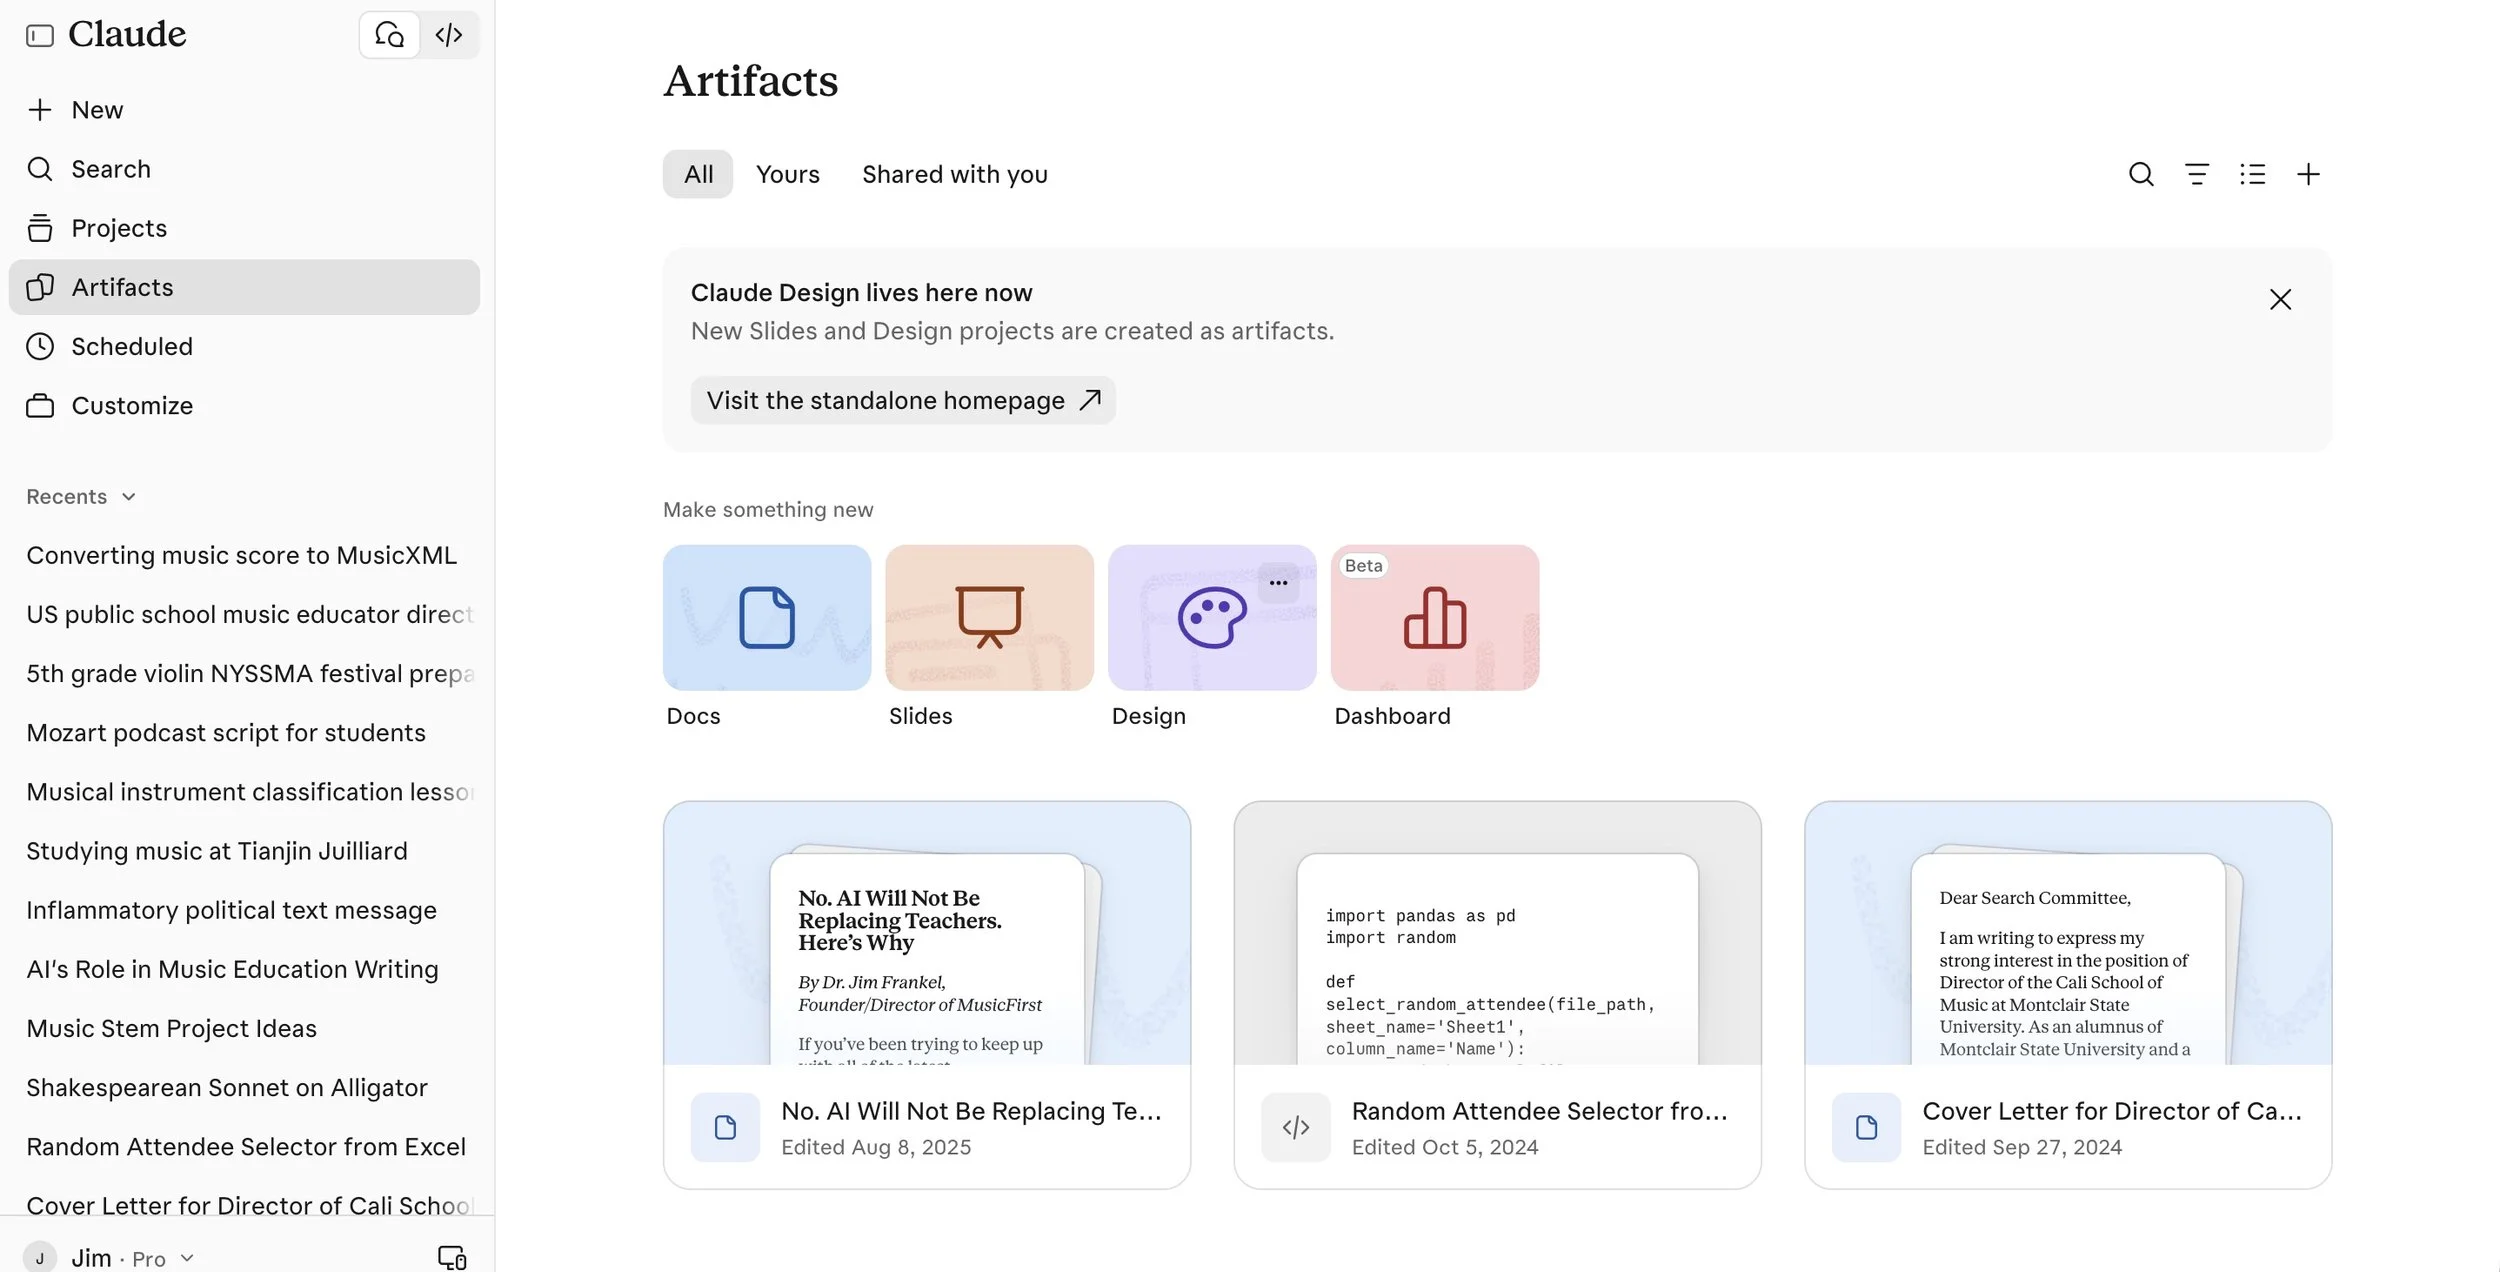
Claude Artifacts is where I’d send someone who’s never done this before. Paste the prompt into a regular Claude chat and ask it to make an interactive Artifact you can try right beside the conversation. Claude includes Artifacts on its free plan, with usage limits, and the first part of this video shows you how to make one and ask for changes. Here are a few tutorials that I found that you can use to learn how to use this very powerful tool.
I decided to create an interactive game for music students using Claude Artifact just to see how different it was from Canva. It was super easy, and it did all of the design and testing for me in about 7 minutes. This was the prompt I used:
Please create an interactive game for my music students that has them name notes in the treble clef as they come racing from right to left on a staff. Students have to type the note name before it hits the clef.
Here is what it came up with - a game called Ledger Dash:
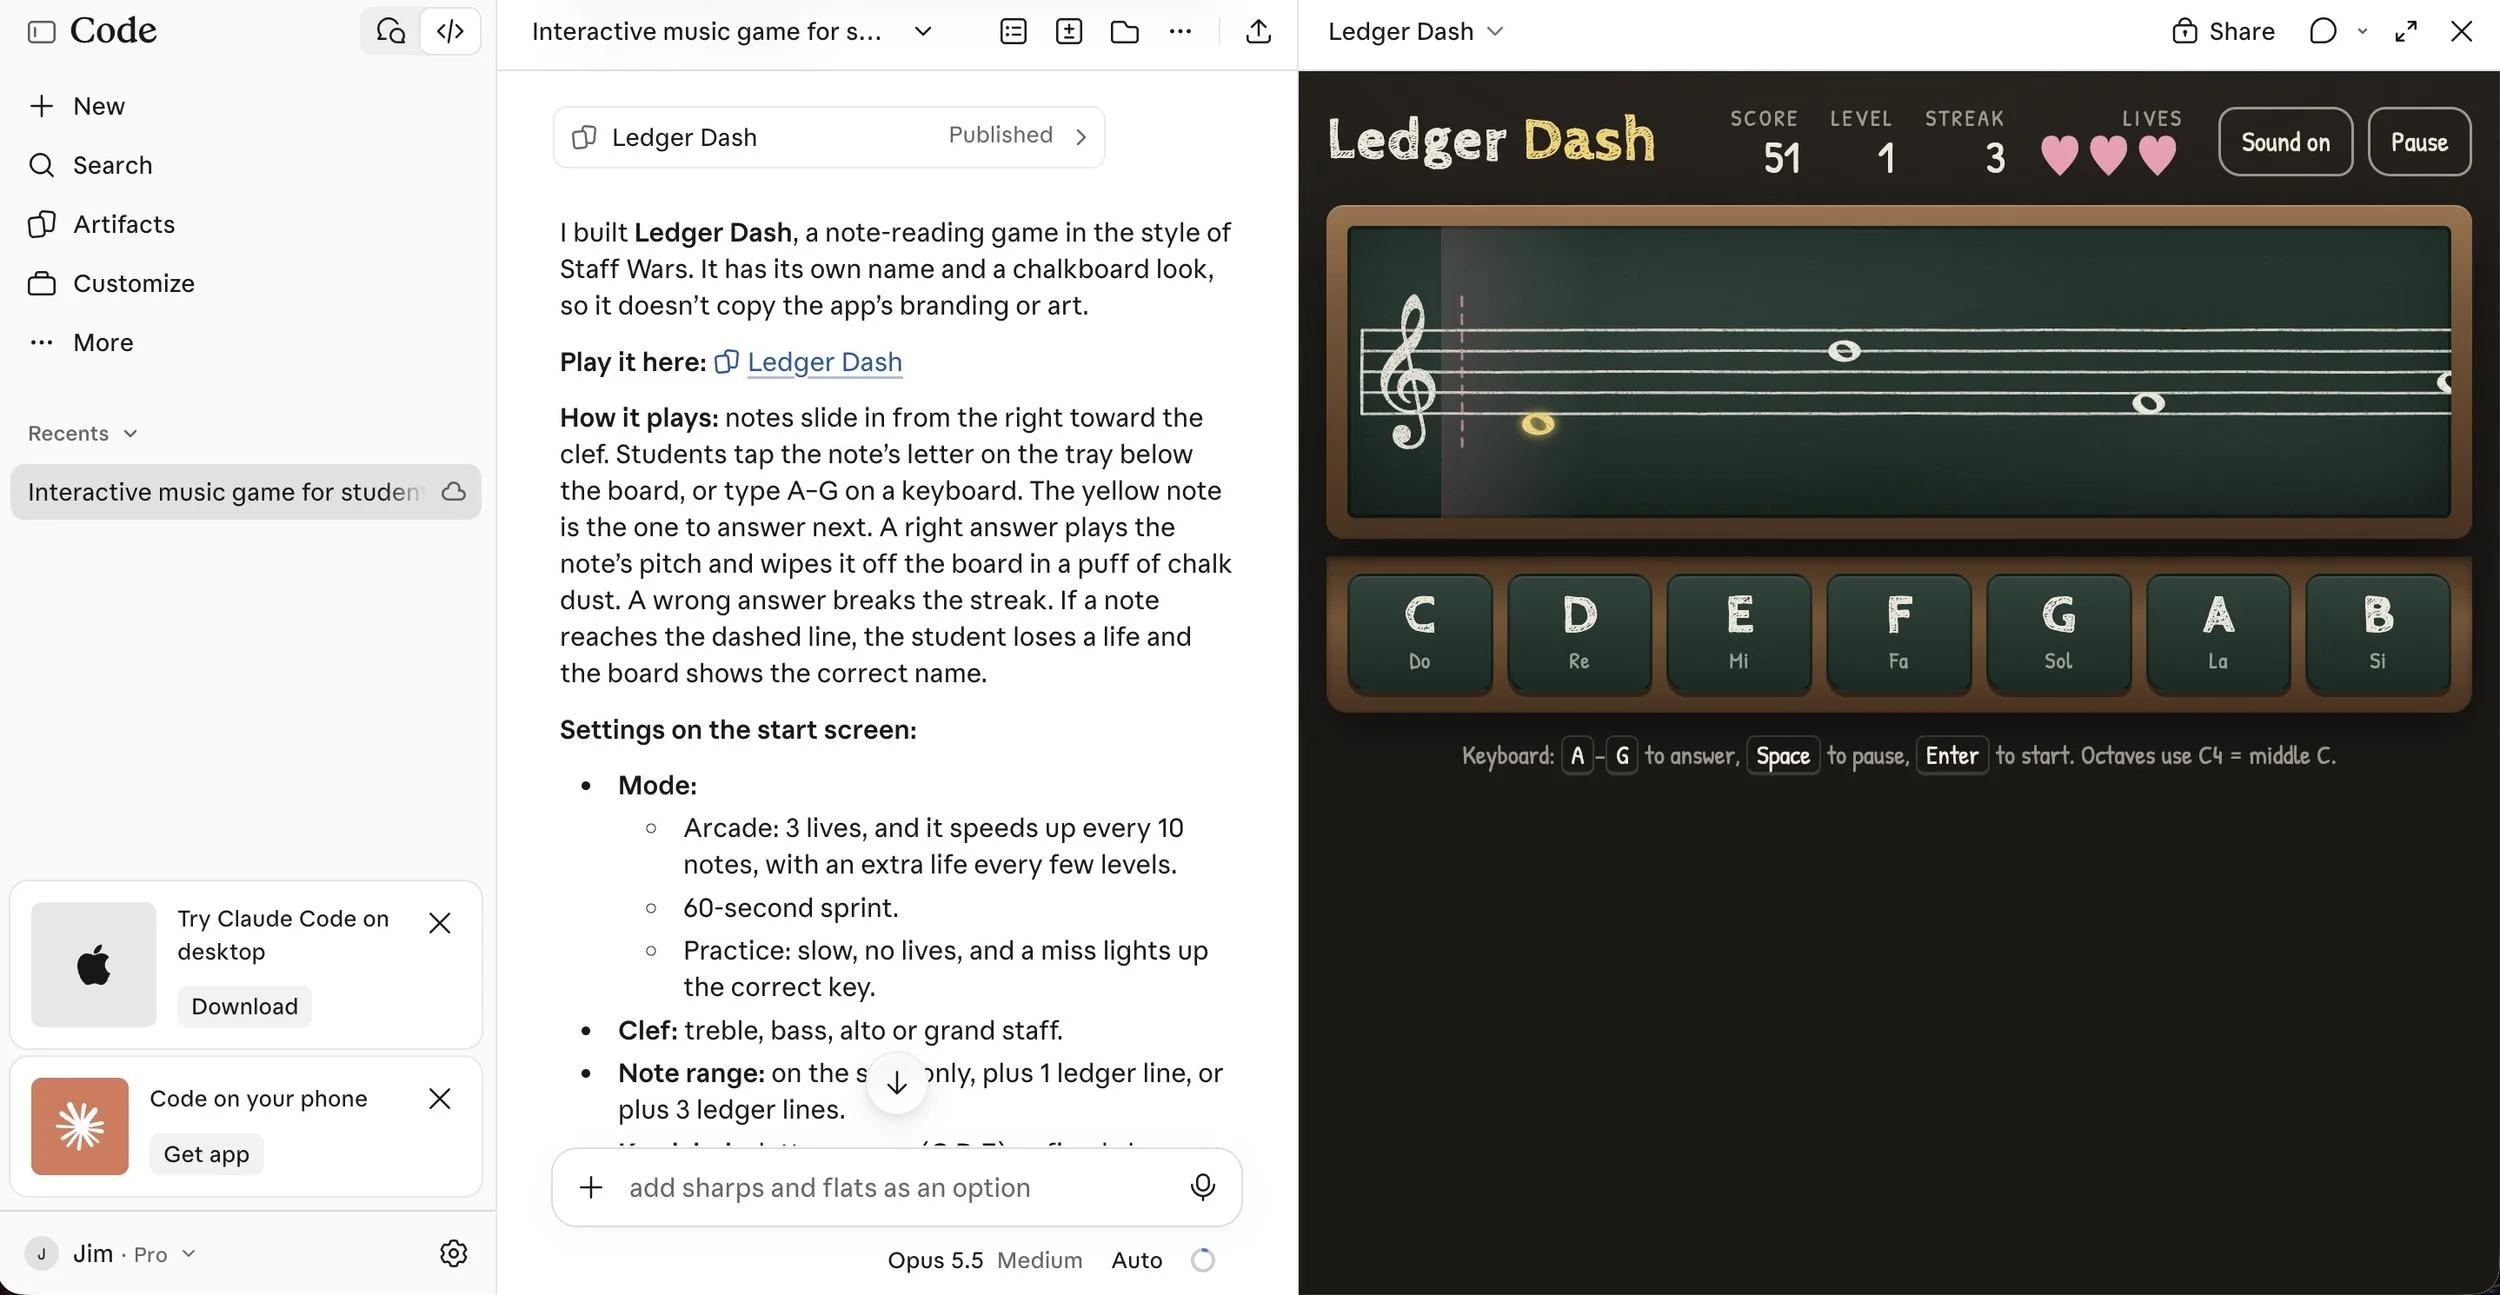
If you would like to try the game out for yourself, click HERE. I don’t know about you, but Claude created a really cool game in about 7 minutes that I could easily use with music students. I think that’s pretty wild.
Canva Code
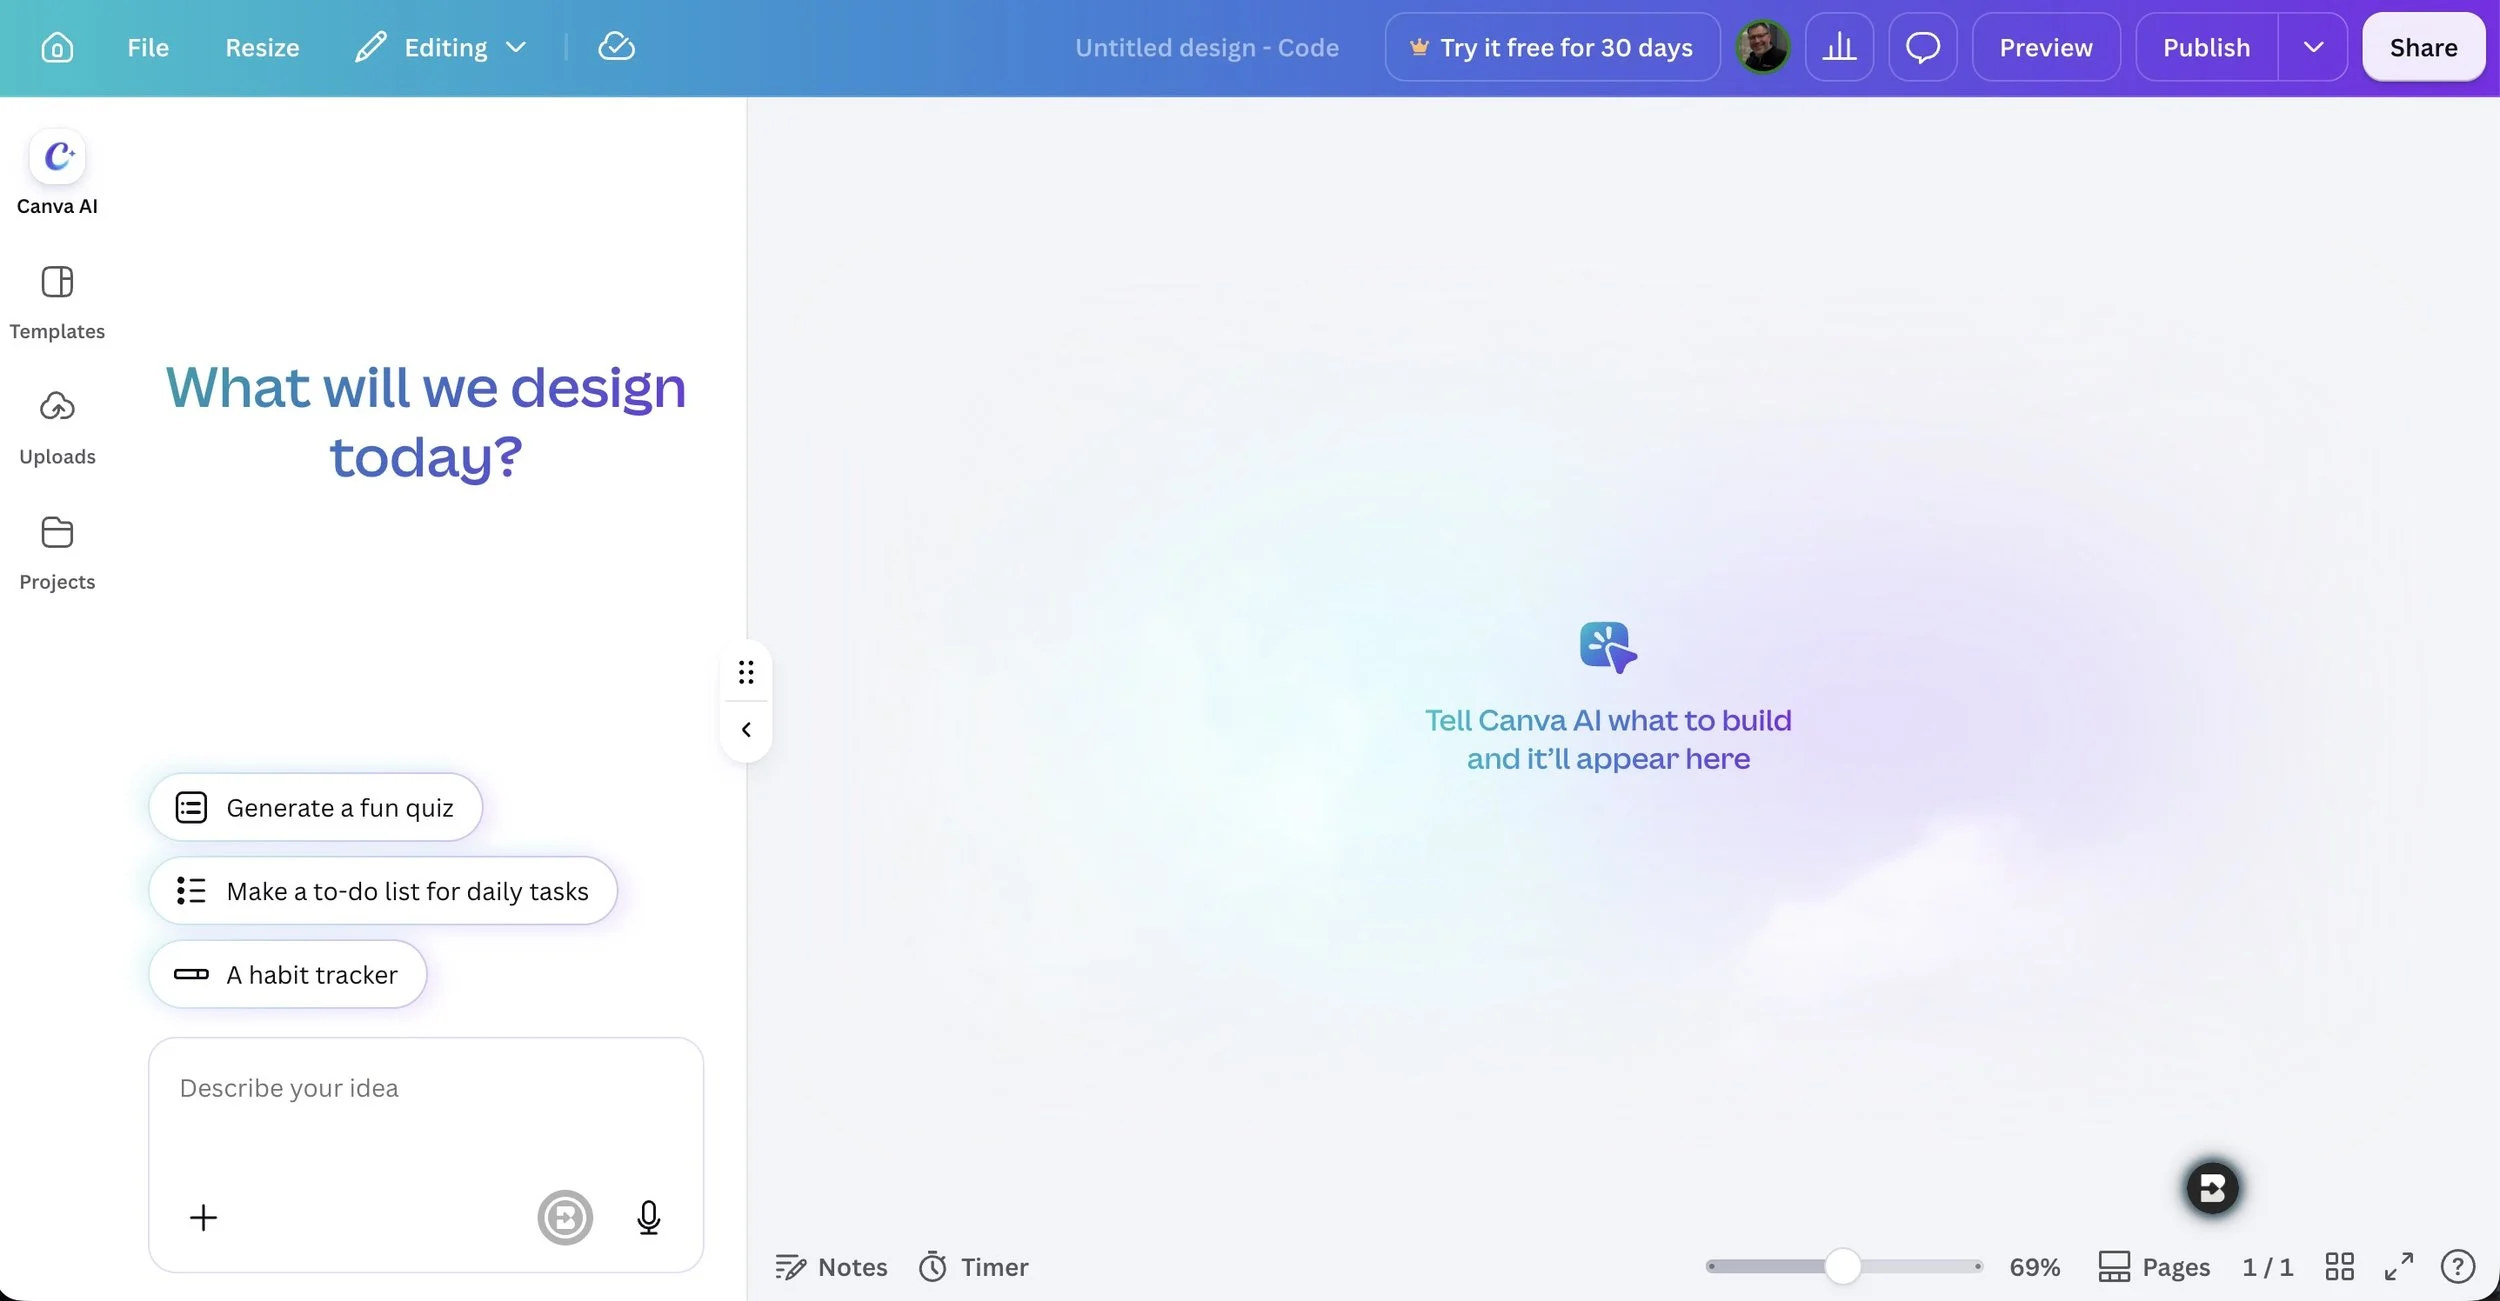
Canva Code is a good place to start if you already make your slides in Canva. From the Canva home page, choose Code and paste in the rhythm grid prompt. Once the preview works the way you want it to, you can add it to a Canva presentation and use it during the lesson. You can try Canva Code on a free account, though your school may need to enable it if you’re using Canva Education. This YouTube tutorial shows how to build a classroom activity and revise it when the first version needs a little work. Here are a few tutorials that I found that you can use to learn how to use this very powerful tool.
Google AI Studio
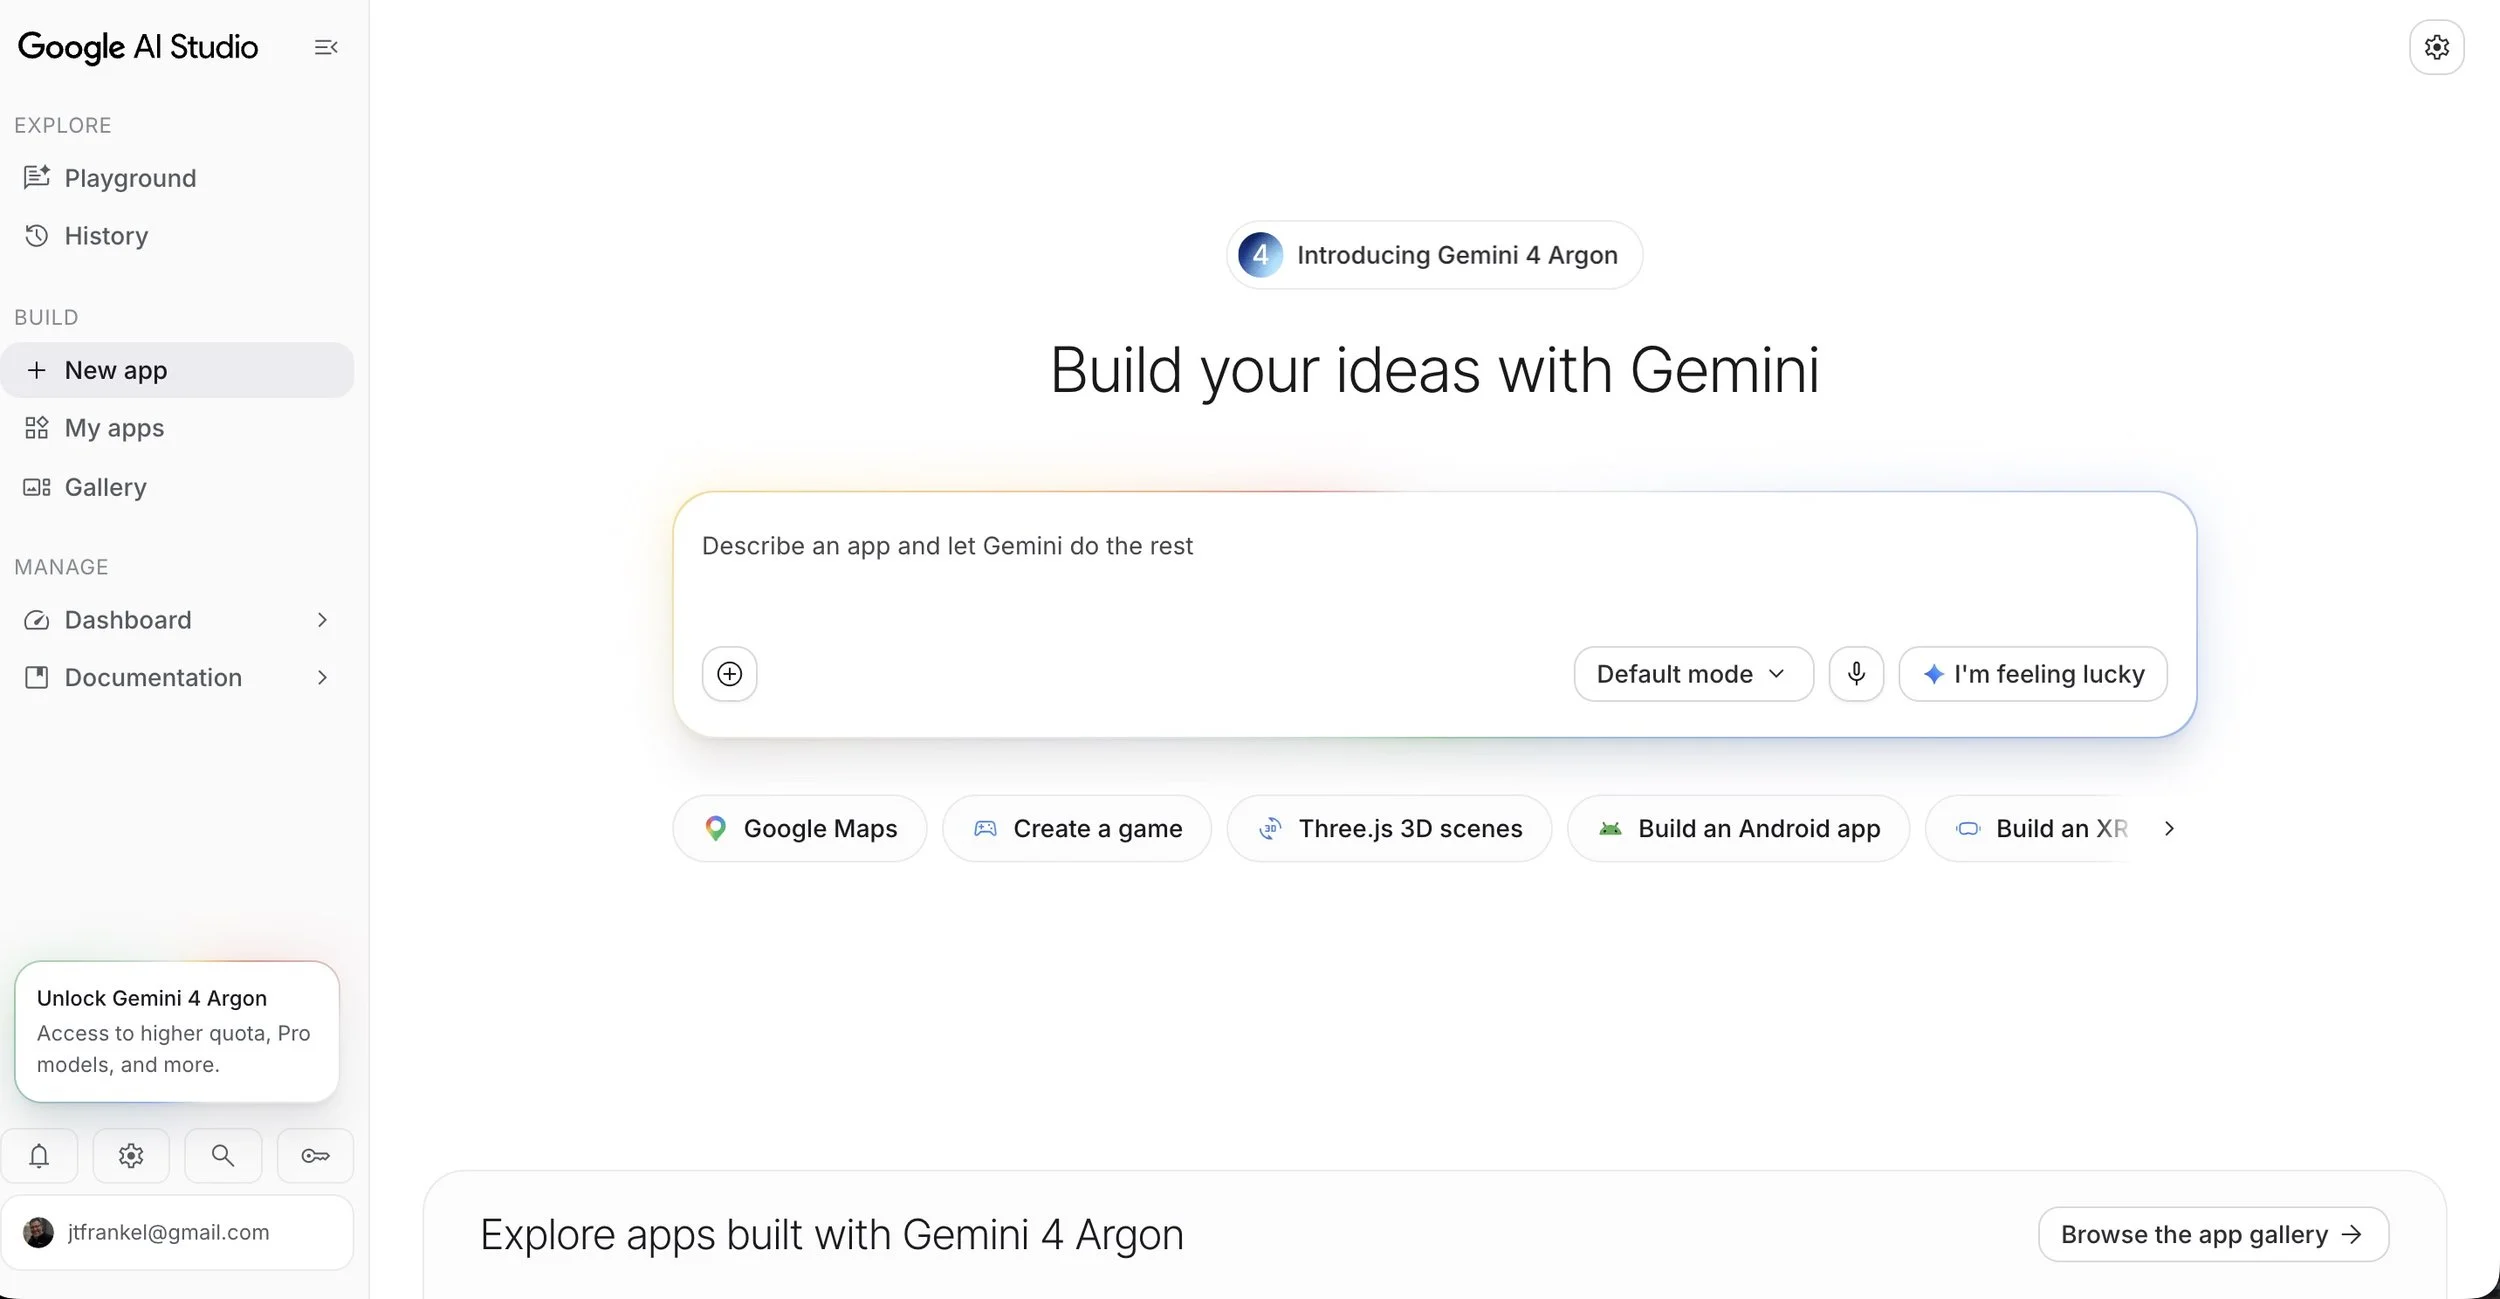
Google AI Studio has a Build mode you can try for free, with possible costs if you use paid features or cloud hosting. Google’s video shows how to talk through the idea before you build it. I’d try an ear training exercise that plays two notes and asks students to choose among the three intervals they’ve actually studied. Here are a few tutorials that I found that you can use to learn how to use Google AI Studio:
I hope that you give these tools a try. I am sure that you’ll be just as surprised as I was when I first started using them at just how easy they are to use and how impressive the end products they produce can be. Other than jumping in and trying them, my other strong recommendation is to go through the edit and revise process after the tool gives you its first draft. THose are the most important skills to get good at vibe coding. Keep tweaking and redesigning until you get the result that you want! Once you’ve built a few of these, think about the things you find yourself teaching over and over again. If your beginning band keeps missing the entrance after a rest, you could build a practice tool that plays the count-in and lets students try the entrance at a few different tempos. If your choir needs help holding its part, you could make a player that lets singers hear their line on its own and then bring in the other voices one at a time. You could share either tool with the teacher down the hall, who might use the same idea with a different piece. To me, that’s the real reason to learn how to do this. The next time you catch yourself saying, “I wish I had something that would help my students hear this,” you can build a first version and see what happens when you put it in front of them.
Let me know what you think!