Choosing the Correct Audio Cable

If you’ve ever stood in front of a tangled pile of audio cables wondering which one to grab, you’re not alone. For music educators and students alike, understanding the types of audio cables—and when to use each—is essential for getting clean, clear sound in any setup, whether it’s a classroom DAW project, a live performance, or a recording session. Audio cables all look pretty similar, but there are important differences that dictate how and when to use them. Let’s break down some of the most common types of audio cables, including mono vs. stereo, TRS vs. TS, RCA cables, and when balanced vs. unbalanced cables matter.
Before we dive in, here is my favorite video from Audio University that provides an overview of most of what I’ll cover in this article - perfect for audio/visual learners like myself :)
Now that' you’ve had a brief overview, let’s look at all of the different types of audio cables, how they are used, and why to use them.
Mono vs. Stereo Cables
Mono (Monaural) means a single channel of audio. Stereo uses two separate channels (left and right) to create a sense of space and direction in sound. Mono and stereo cables generally come in two sizes: 1/4” and 1/8” (mini).
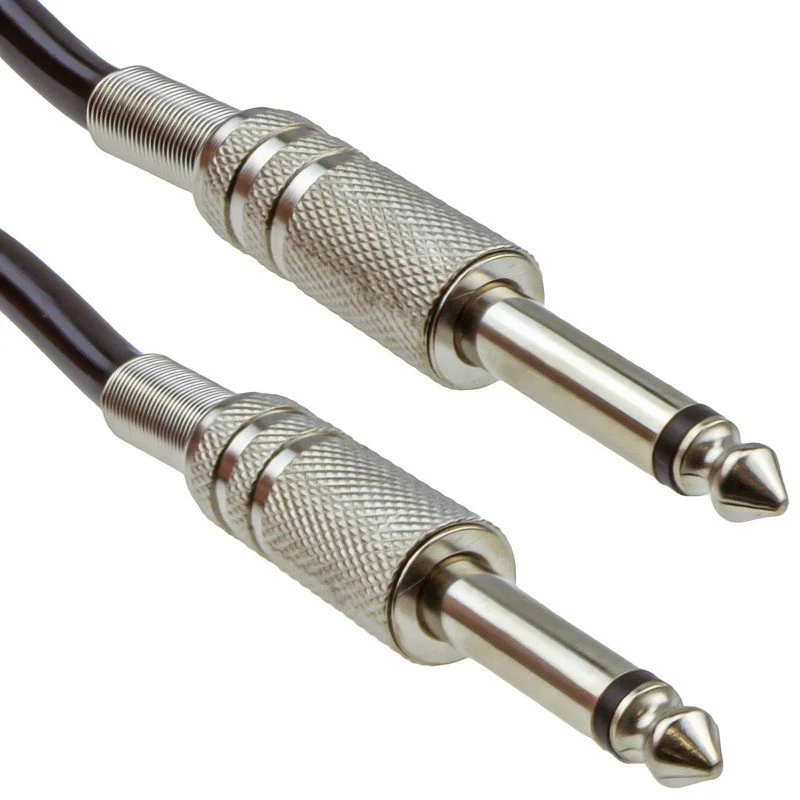
Mono 1/4” audio cable
When to use mono cables:
Connecting a microphone to an audio interface (unless XLR is available)
Sending a single signal (like a keyboard’s mono output) to a mixer or amp
Hooking up a guitar or bass

Stereo 1/4” audio cable
When to use stereo cables:
Headphones
Connecting a stereo keyboard output
Audio playback from laptops or mobile devices
The main visual difference between mono and stereo audio cables is the number of black rings on the cable itself. If you look closely at the two images above, you’ll see that the mono cable has ONE black ring and the stereo cable has TWO. The common terminology used to describe these differences is Tip - Ring - Sleeve - or TRS. The letters TS and TRS refer to the parts of a plug:

TS (Tip-Sleeve): A two-part connector used for unbalanced mono signals.
TRS (Tip-Ring-Sleeve): A three-part connector that supports either balanced mono or unbalanced stereo signals.
The trick is in how the cable is wired and what you're plugging into. A TRS cable can reduce noise (if used in a balanced mono connection) or carry both left and right signals (in stereo).
When to use TS cables:
Electric guitars or keyboards to amps
Mono instrument lines
When to use TRS cables:
Connecting studio monitors to an audio interface (balanced)
Stereo headphone outputs
Balanced microphones (though usually with XLRs)
Here’s a great overview video about TS and TRS cabled from Audio University:

Balanced vs. Unbalanced: Reducing Noise in Your Signal
Balanced cables (like TRS or XLR) reject interference and are better for long runs. Unbalanced cables (like TS or RCA) are fine for short distances but more susceptible to noise.
Use balanced cables for:
Microphones
Studio monitors
Long cable runs
Use unbalanced cables for:
Guitars
Consumer audio gear
Short connections
Here’s a great overview video from Sweetwater about Balanced and Unbalanced audio cables:

XLR audio cable
XLR Cables
XLR cables are the professional standard for microphones and balanced audio connections. With a three-pin design and a locking connector, they’re built for durability and clarity.
Use XLR for:
Microphones in classroom or performance settings
Connecting audio interfaces to powered speakers
Long-distance, noise-free audio transmission
In the classroom: They’re essential for choir mics, podcasting, and any clean, reliable recording setup.

RCA audio cable
What About RCA Cables?
RCA cables are common in home and educational setups. They’re unbalanced and typically red and white for stereo audio. You’ll often see them on older mixers, AV carts, or media players.
Use RCA cables for:
Connecting DVD players or laptops to a sound system
DJ controllers or turntables (with preamps)
Pro tip: Keep RCA runs short to avoid buzz and hum.

Speakon audio cables
Speakon Cables
Speakon cables are designed specifically for connecting power amplifiers to passive speakers. Unlike 1/4" jacks or bare wire connections, Speakon connectors lock securely in place and can handle high power loads safely, making them ideal for live sound reinforcement in school auditoriums or gymnasiums. They're also non-shorting, which protects your gear from accidental damage during connection. You’ll typically find them on PA systems or powered mixers that drive external speakers.
In educational settings, Speakon cables ensure secure and safe speaker connections, especially for student-run sound systems during assemblies or performances.

Dante Audio
Dante (by Audinate) isn’t a unique cable—it’s a digital audio-over-IP protocol that uses standard Ethernet (Cat5e/Cat6) cables. It allows multiple audio channels to travel over a network with low latency and high fidelity.
Benefits for music educators:
Simplifies cabling—just run Ethernet
Easily expand systems with software-based routing
Ideal for multi-room setups or digital music labs
Use Dante when:
Installing AV systems in an auditorium or multi-room lab
Running high channel counts with minimal cabling
Teaching students modern audio networking skills
Here are a couple of fun online quizzes that I found that you might enjoy completing OR having your students give them a try:
If you are a MusicFirst Classroom user, there are some great pre-made slides, lessons and quizzes on cables in the Music Tech Hardware section of Focus On Sound. Here are some screen shots:


Choosing the right cable is more than just matching ends—it’s about understanding your gear and signal flow. Whether you’re setting up a classroom workstation, a performance stage, or a school studio, knowing your cables helps you and your students create clean, professional-quality sound with confidence.
Bonus Tip: Label your cables and use color-coded tape or tags to teach students how to identify types at a glance—saving time and preventing headaches!
Hope this guide is helpful!